Wireless Router configuration in Cisco Packet Tracer
How to Add a Wireless Router.
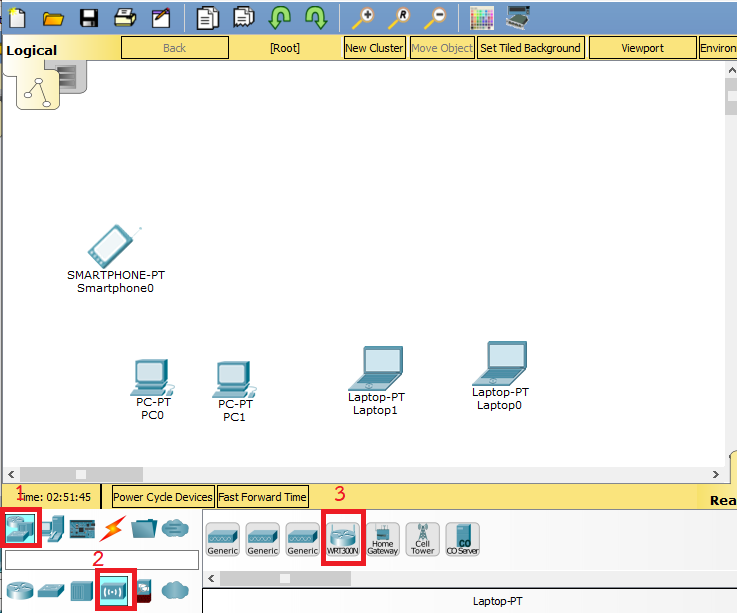
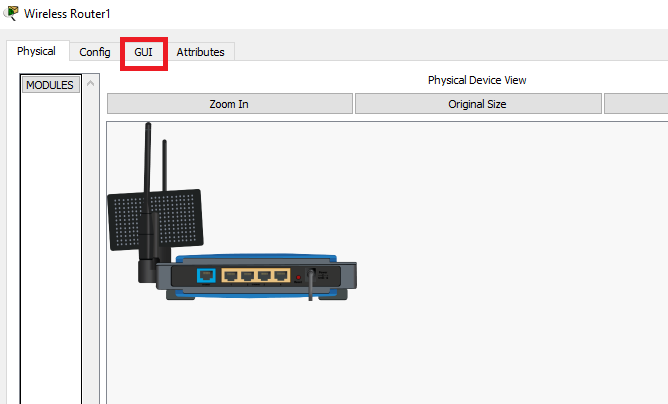
In Packet Tracer, you must click Wireless devices to add a Wireless Router to the workspace. From the listed wireless devices,
click the WRT300N wireless modem.
Drag and drop the WRT300 with the desktop view into the workspace in the right section.
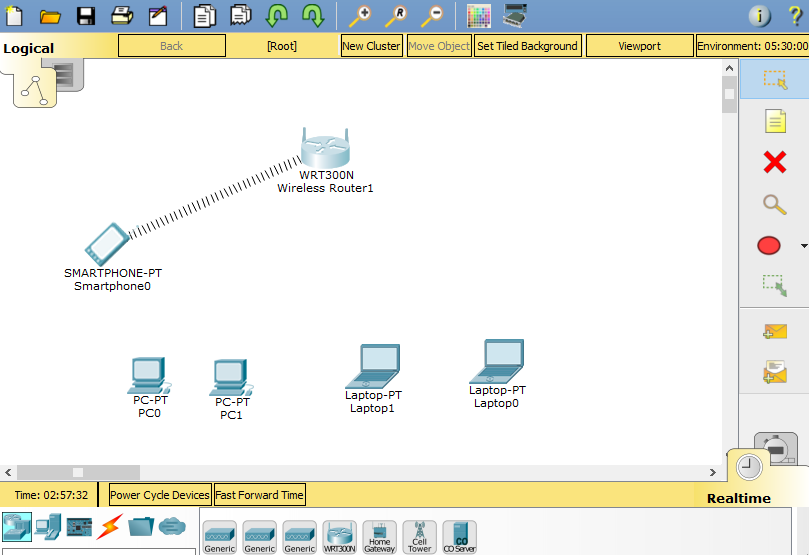
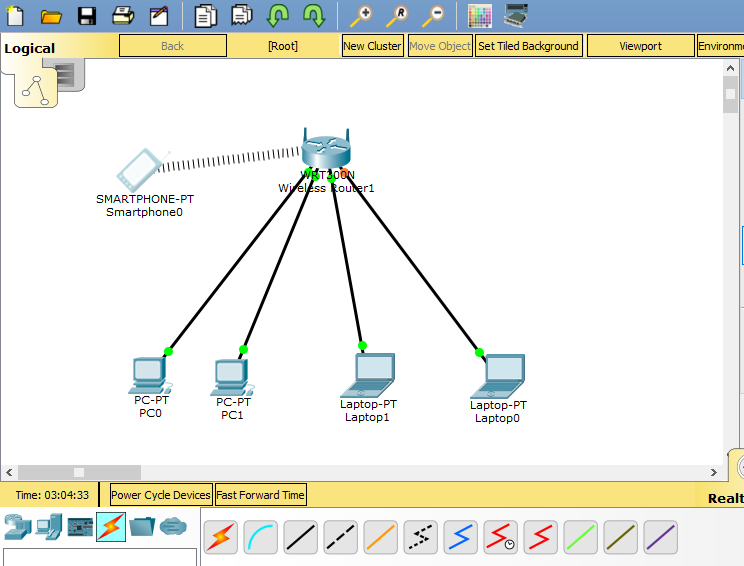
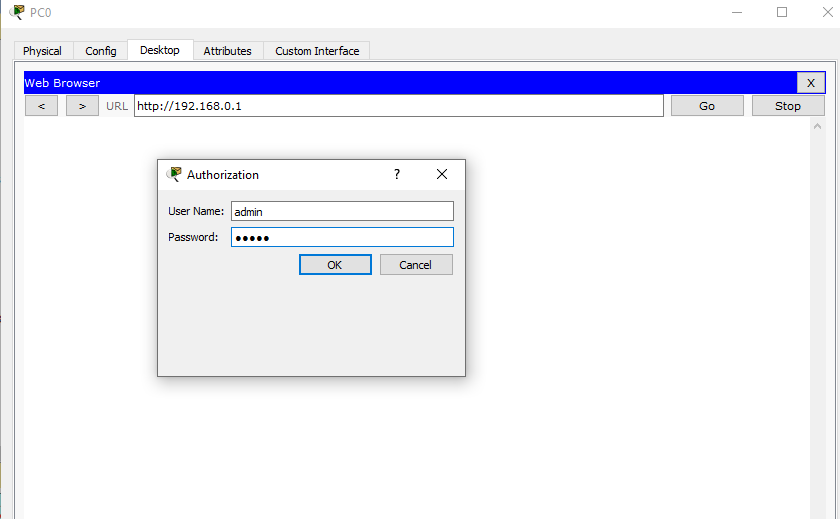
To connect the wireless modem to PC and Labtop, first, click on the cabling tool at the bottom and then connect it to the Ethernet PC or Labtop.
After you have done the wiring between the wireless modem and PC , click the GUI tab of the device’s properties.
But in Real device you must use PC or Labtop connect to WiFi modem and acces to configuration with web browser at IP 192.168.0.1.
So now, on the ADMIN PC browser, type the IP address of the LAN interface of the wireless router.(192.168.0.1 by default ),
then hit Go. A login prompt appears. Provide the username (admin) and password (admin) to be allowed into the GUI of the router.You can always change these settings later.
You should now be in the GUI of the router, whichever approach you chose to access it. Just examine it closely for a moment.
On it, you can see several tabs like Setup, Wireless, Security, Access Restrictions, Application & Gaming, Administration and WRT 300N status.
Network Setup
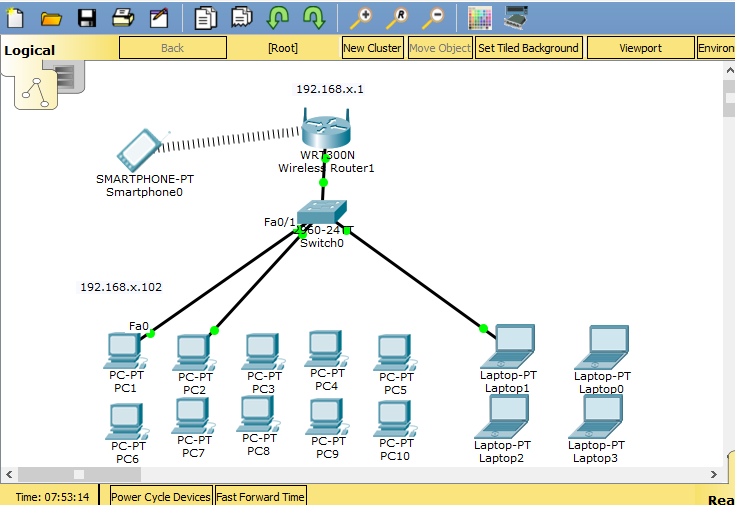
Network setup means LAN setup. Already, we have a PC and three laptops in the LAN.We’ll assign the them IP addresses either
statically or dynamically (using a DHCP pool set up in the wireless router).
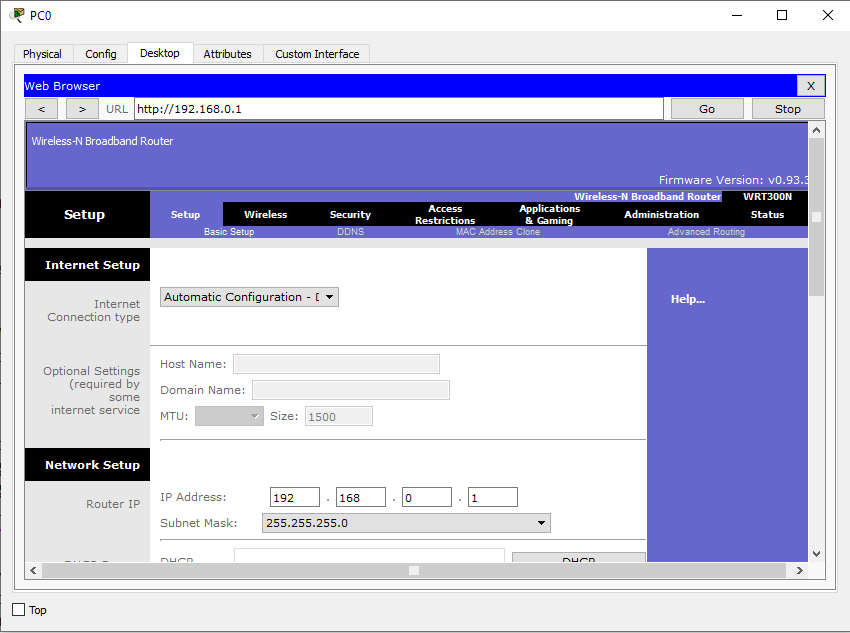
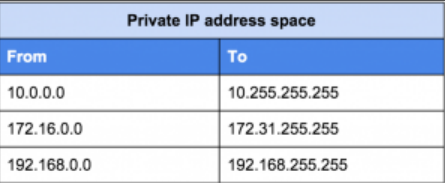
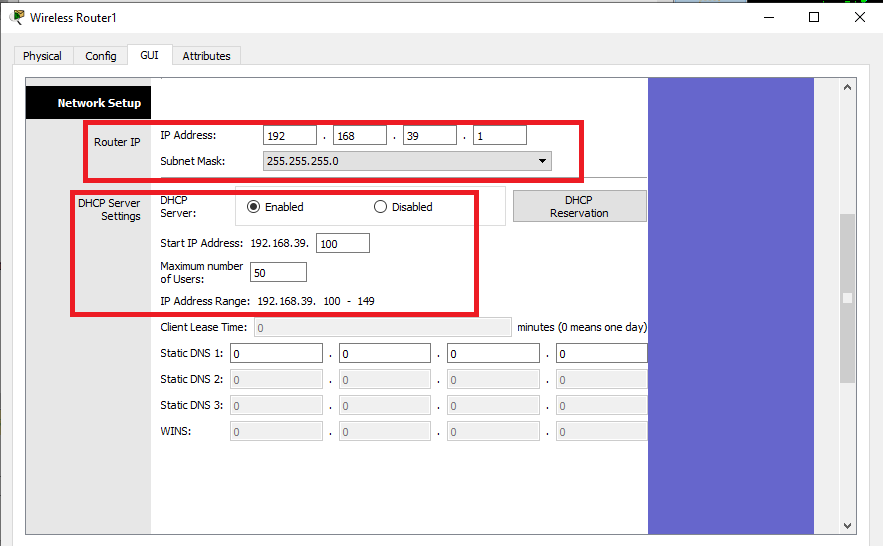
The default LAN network address given here is 192.168.0.0 with a subnet mask of 255.255.255.0 .The first address in this network
(192.168.0.1 by default) has been assigned to the LAN interface of the router. It has just been named IP address. Obviously,
all the PCs in the LAN will use the LAN interface as their default interface(to communicate to hosts in outside networks).
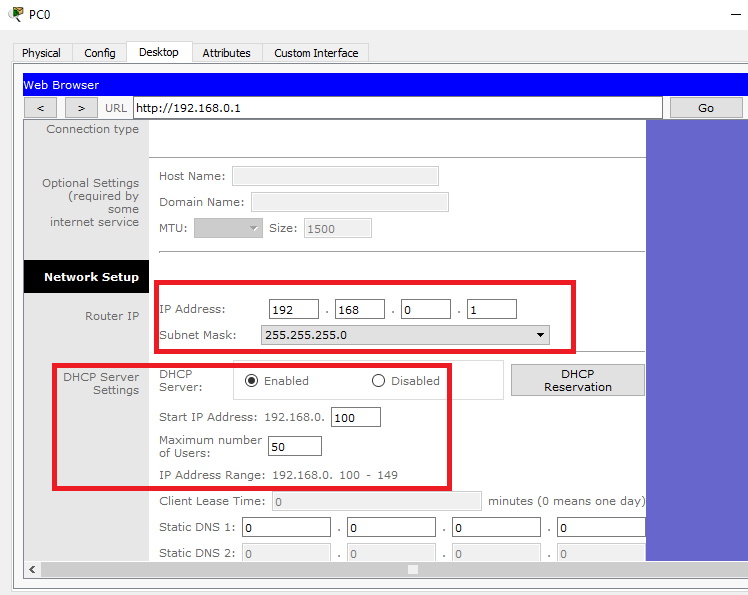
Now, in the router’s network settings, you may choose to enable DHCP to dynamically assign IP addresses to the PCs. On the other hand,
if you choose to disable DHCP, then obviously, you’ll have to configure static IP addresses on the PCs.When you choose to enable DHCP,
set the start address for the LAN pool, maximum hosts to be allowed in your LAN and the DNS server for the LAN.
The PCs will receive addresses automatically from the pool.
Now, going the DHCP way:
change IP address as another class C IP address of private IP
Example change to 192.168.39.1/24. and then save it. you will see new IP address change from 192.168.0.1 to 192.168.39.1
use ipconfig command in ms promt you will see IP address of PC0 is 192.168.39.100
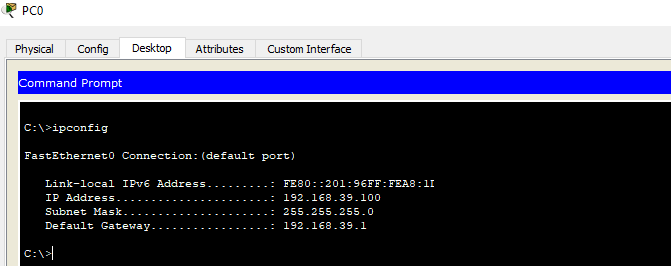
experiment with other PC to see IP address. and test connection of network with ping command between PC-PC and PC -WiFi Router.
Assignment
Design LAN network by use WiFi router. there are 10 PC, 5 Labtop use this network and defind IP addres class C is 192.168.x.0/24. By x is 2 digit of id student. after that should change password of WiFi router and save it
Reference
How to Use Cisco Packet Tracer Step by Step