
chapter 4
Wokwi Simulation of microcontrollers
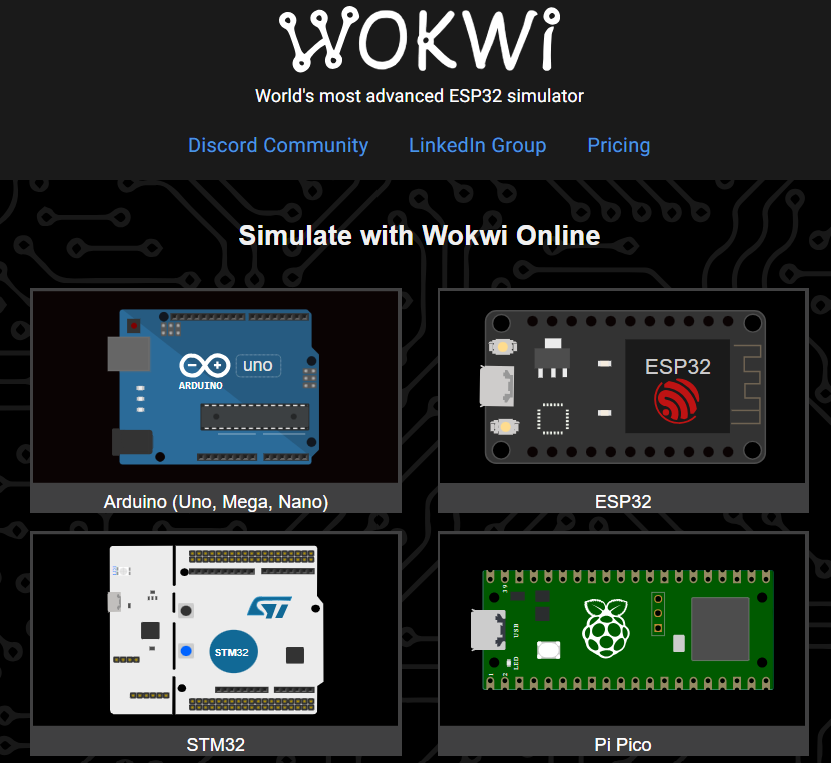
Wokwi is a web-based electronics simulator for microcontrollers like Arduino, ESP32, and Raspberry Pi. It allows users to design circuits, write code in a built-in editor, and simulate project behavior in real-time without needing physical hardware. Wokwi supports various components and sensors, serving as a tool for prototyping, debugging, learning, and collaborating on embedded and IoT projects.
 http://www.wokwi.com
Key Features
Online and Free:
Accessible through a web browser, with no installation or hardware required, making it free and easy for beginners and experienced makers to use.
Microcontroller Support:
Simulates popular platforms including Arduino (Uno, Nano, Mega), ESP32, Raspberry Pi Pico, and ATtiny85.
Integrated Environment:
Features an in-browser circuit editor and a code editor, allowing for design and programming within a single platform.
Component Library:
Includes a wide variety of electronic components, sensors (e.g., temperature, ultrasonic), and actuators to build complex projects.
Code & Simulation:
Users can write and test code for their projects, with the simulator running in real-time to show how the circuit and code interact.
Collaboration:
Offers features to share project designs and collaborate with other users, making it suitable for team projects.
Versatile Use:
Supports various programming languages and frameworks, including C++ for Arduino, MicroPython, and Rust.
http://www.wokwi.comHow it Works
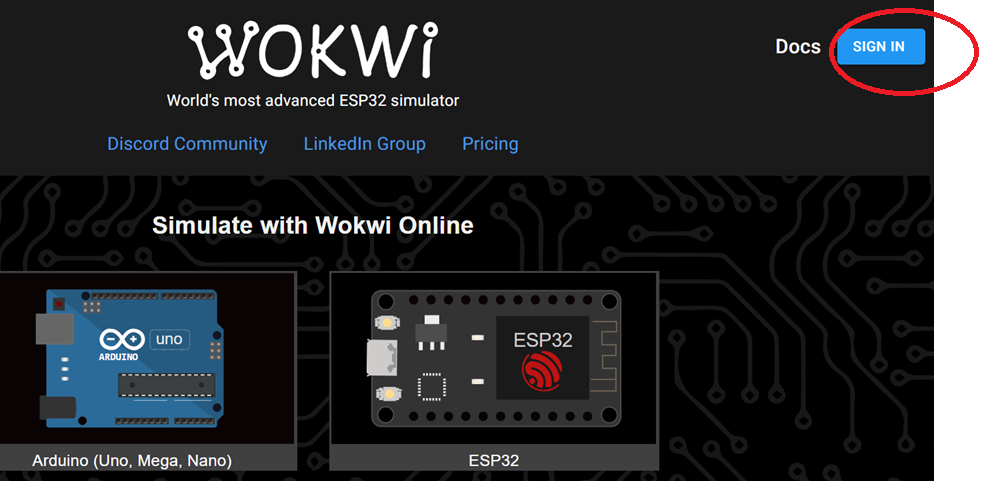
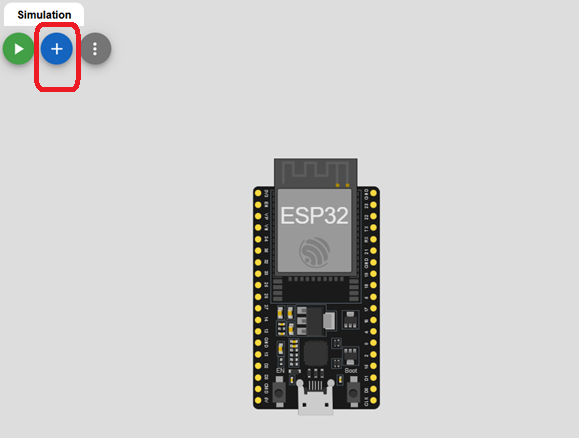
1. Create an Account: Users can create a free account to save and manage their projects. you can use google account to singin to use it.
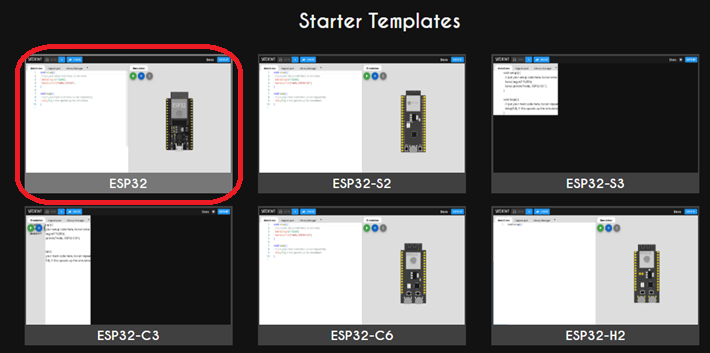
2. Start a New Project: Choose a microcontroller board from the supported list. Select ESP32
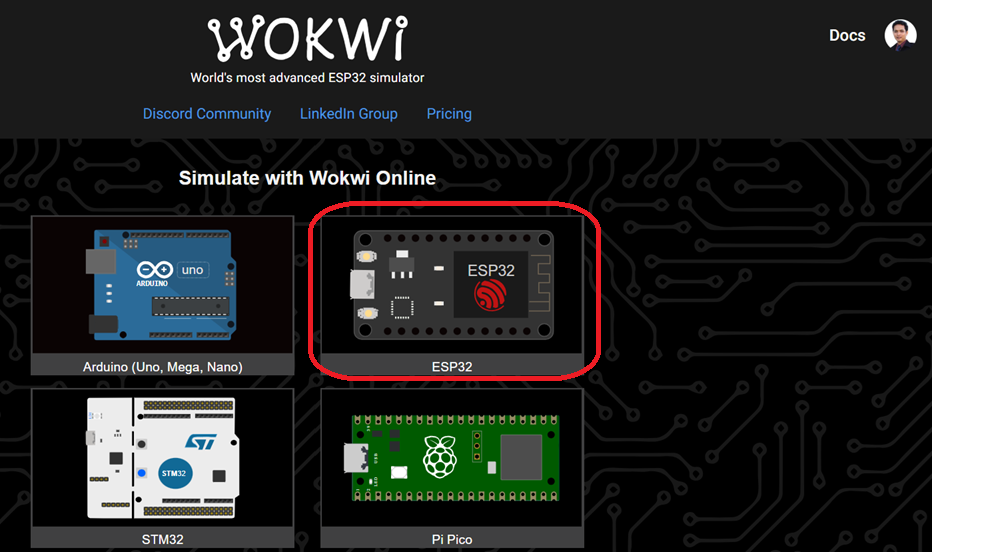
and click ESP32 Templates
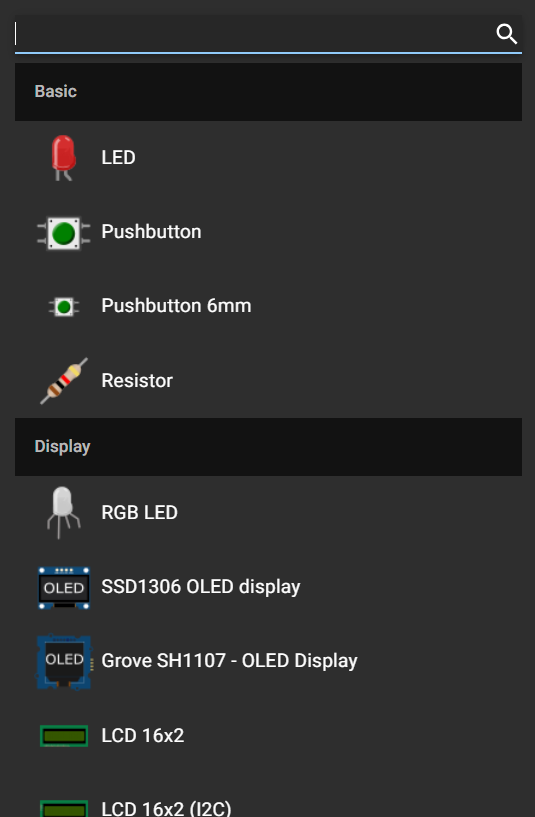
3. Design the Circuit: Drag and drop components from the library onto the virtual breadboard.

We can added electronic device or any components by click + button.
You will see the electronic components to selected in your circuit.
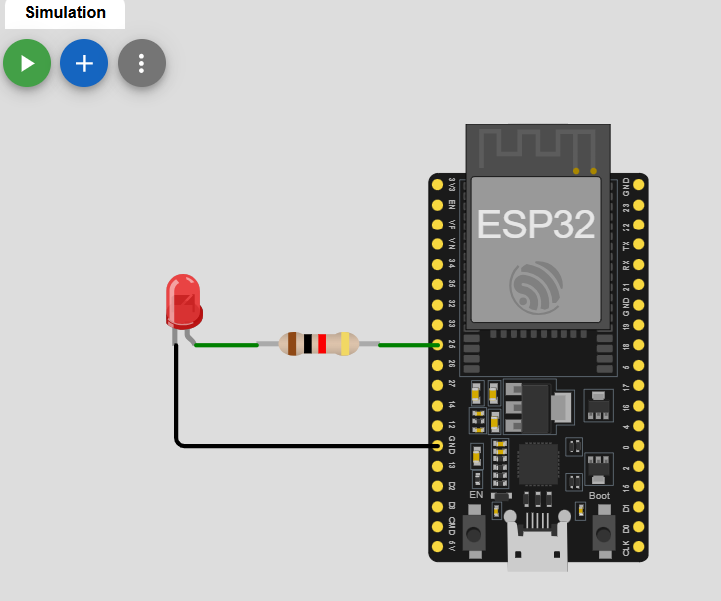
Use Example circuit to demostration of Wokwi Simulator. It is a LED blink.
4. Write Code: Use the integrated editor to write your Arduino, MicroPython, or C++ code.
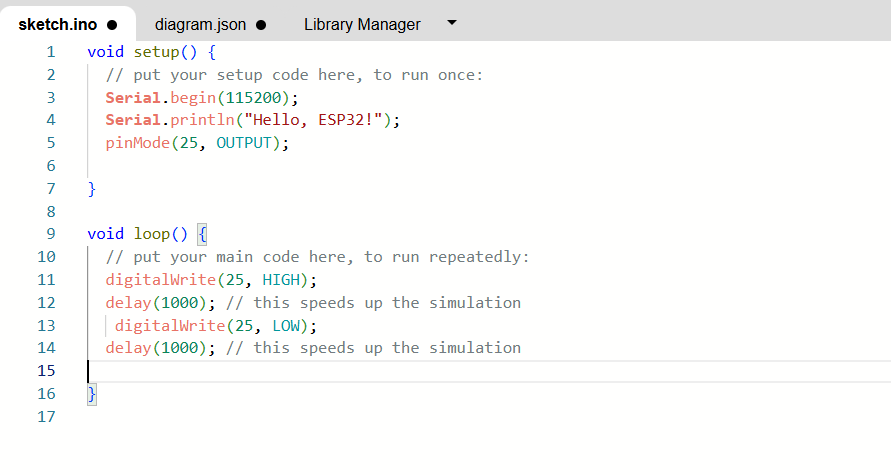
You can copy this code to past in wokwi
void setup() {
  // put your setup code here, to run once:
  Serial.begin(115200);
  Serial.println("Hello, ESP32!");
  pinMode(25, OUTPUT);

}

void loop() {
  // put your main code here, to run repeatedly:
  digitalWrite(25, HIGH);
  delay(1000); // this speeds up the simulation
   digitalWrite(25, LOW);
  delay(1000); // this speeds up the simulation

}
5. Run the Simulation: Click the "run" button to start the simulation and see your project's behavior in real-time.